
Watts 709: How To Repair
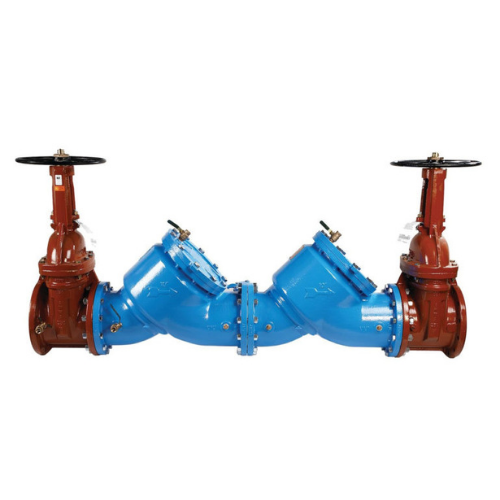
I have a 6” Watts 709 double check valve assembly with a badly worn and pitted first check valve seat. I am planning to replace the seat, but upon inspection, I did not notice any bolts holding the seat into place. Are these seats threaded into the body? If so, do I need a special tool to remove the seat?
Mark:
The check valve seats for the 6″ Watts 709 are not threaded into the body of the device. The check valve seats are o-ring sealed and held into place by (2) retaining wires or clips which are installed at approximately the 5 o’clock and 7 o’clock positions of the seat. Each retaining wire slides into a groove located between the seat and the body. Watts uses these retaining wires to secure the check seats for the 4, 6, 8, and 10-inch size models of the Watts 709 DCA and the 909 RPA. Although special tools are not required, there are aftermarket removal tools available that make removing the seats much easier.
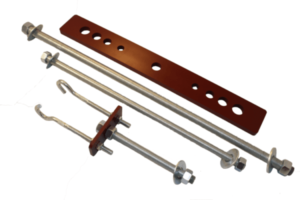
Click here for more information on the check seat removal tool above.
Doug:
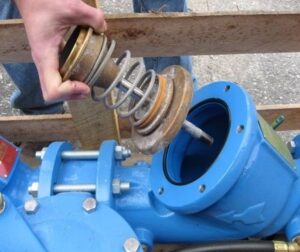
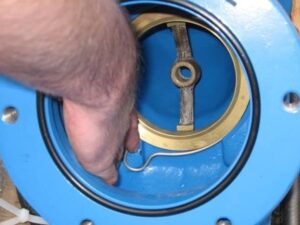
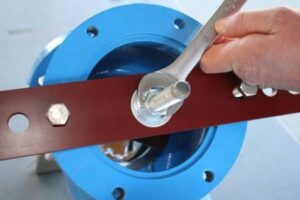
To remove the check valve seat, you will need to first remove both retaining wires from the seat. I would suggest using a pair of channel lock pliers or vise grips to help. Start by pulling the right side retaining wire in a clockwise direction until it is completely out. Then pull the left side retaining wire in a counter-clockwise direction. Once both retaining clips have been removed, grab the check valve seat by the guide supports in the center of the seat and simply pull the seat straight up and out of the body. If using an aftermarket removal tool, simply install the plate to the body and install the hook assembly to the guide supports. Once installed, tighten the all-thread rod and the seat will slide out of the body safely and evenly. Always be very careful not to hit the seat on the inside of the device body and risk damaging the internal epoxy coating.
Mark:
Before installing the new seat, make sure to clean the seat surface in the body, including the grooves for the retainer wires, and apply an FDA approved lubricant to the new seat o-ring. This is important to ensure an easy and clean fit. To install the new seat, push the seat straight down and evenly into the body until it is completely seated into place. Now, you should be able to install the new retaining wires by hand. You can start by sliding the left clip into place in a clockwise direction, and sliding the right clip into place in a counter-clockwise direction. As you push, let the retaining wires follow the groove in the seat around and into place.
Doug:
Mark mentioned earlier that Watts utilizes retainer wires to secure the check valve seats for the 4 thru 10-inch sizes of the 709/909 series. I would mention that the 21/2 & 3-inch sizes do not use retaining wires, but have protruding ears off each side of the seat that lock it into the body. To remove these check seats, twist the seat ¼ turn in either direction until the ears align with the notches in the device body and pull straight out of the body. These seats are sealed by an o-ring in the device body. Reinstall in the reverse order.