
Wilkins 975: How To Repair
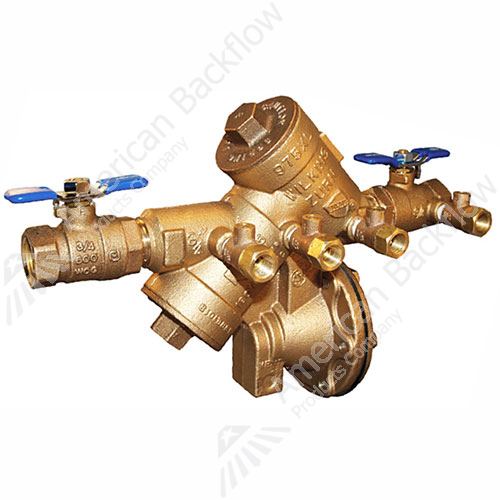
I am working on a 1 ½” Wilkins 975 RPZ. I am having an issue with the second check valve failing the differential test but holding against backpressure. I have already replaced the check rubber and seat. Do I need to replace the spring or can I just stretch it to make it stronger?
Doug:
Believe it or not, this is a very common question. We will start by taking a closer look at the check valve assembly of the Wilkins 975.
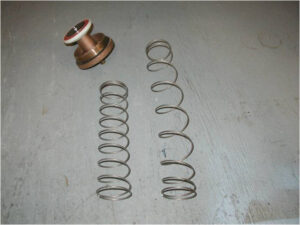
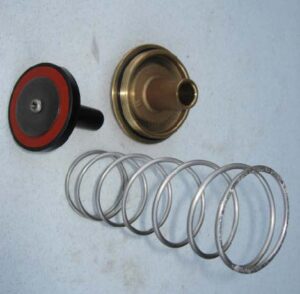
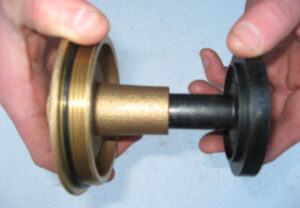
This particular assembly utilizes a poppet style check design. A poppet style check consists of a seat, spring, and poppet. The poppet contains a rubber disc and has a stem that is the guide. The lid of the check valve has a recess that acts as the guide surface. The stem guide is positioned inside the check lid. You will find similar poppet style checks in the Wilkins 950 & 975 series, Conbraco 40-100 & 40-200 series, and Febco 805Y & 825Y series. Remember to use caution when you remove the check lid because the spring is not contained. You made the correct decision to look at the check rubber and seats initially because many times this is where the problem is found. It is normal to think that if the seat and disc look OK, that the spring must be the problem. Be sure not to overlook the guide surface of the check valve as a potential problem as well.

Mark:
Let’s concentrate on your question about the spring first. When a check valve does not seal tight, many technicians will assume that there is not enough spring tension so they may try to add spring tension. When someone says they want to stretch the spring I always have to ask do you mean “stretch” or “bend”? If you stretch a spring, it goes back to its original shape very quickly. This will have little, if any effect, on the check valve. If you bend a spring, you pull it to a point where you permanently change the shape and size of the spring. This will have a major effect on the check valve. You have changed the equipment inside the backflow and “reengineered” the valve.
Springs are designed and manufactured to last the life of the check valve and normally do not need to be replaced. I also believe you “never say never”. There are times when springs can break or weaken and need to be replaced, but bending a spring in the field may just cover up the actual problem and not fix it correctly.
Doug:
So, if it is not the spring, where is the next place that we want to look? This brings us to the guide surface for the check poppet. A guide bore is drilled into the check valve cover, which when operating correctly, keeps the poppet properly aligned so it can form a uniform seal against the seat. The poppet stem should slide smoothly in and out of this guide bore. If there is a buildup of debris or scale inside the guide bore this will cause the poppet to catch or stick inside the cover which will slow the travel of the poppet. When the movement of the poppet is slowed, it may still close tight, but it can cause low or failing gauge readings on the differential test. When you conduct a back pressure test, the check is forced closed and it passes. Be sure to clean and inspect the guide bore and poppet. Do not use any type of lubricant on the poppet stem or guide bore. Lubricants will also slow down the travel of the poppet.
Mark:
Many times, you will find guide problems on the second check because the check spring has a lighter load. One tip that we have found to help with guide issues on the second check involves the position of the guide bore. When the cover is manufactured, the guide bore is not always drilled exactly center. This will cause the poppet to bind as it travels through the guide bore. To compensate for this, simply loosen the check lid about a ¼ turn. This should be enough to realign the guide bore so that the check can travel with ease. If this works, leave the check lid in this position. The lid is o-ring sealed so loosening it a little bit will not cause it to leak.