Febco 825Y: How To Repair

In my area I mainly test and repair the Febco 825Y series reduced pressure principle assembly in sizes 2″and smaller. My question concerns the model numbers. I have seen the 825Y, 825YR, 825YS, and 825YA. Can you explain the difference between these model numbers, and what they indicate?
Mark:
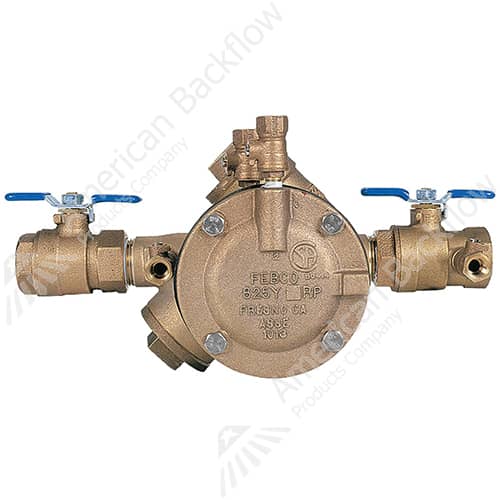
First, let’s take a look at the Febco 825Y model. This model uses a “WYE” pattern body to house the check valves, thus the “Y” suffix on the model number. The check valves are plastic poppet style and use a Buna rubber for the check disc and relief valve disc. The check valve seats are cast into the body of the valve and cannot be removed. The RV seat is replaceable. This is the base model for this series. Other than some slight variations, the rest of the models are basically the same.

Doug:
Most variations of the Febco 825Y series can not be distinguished by outward appearance alone. In order to view the differences you will have to go inside the valve. The 825YR was created with replaceable bronze check seats. The “R” suffix stands for “replaceable” referring to the check seats. As for the 825YS, it uses silicone rubber in place of the Buna rubber used for the check and relief valve discs. All other parts on both models are identical to the 825Y. The 825YS is still in production, but the 825YR is no longer produced since the 825Y now comes standard with replaceable seats.
Mark:
The Febco 825YA does have a different outward appearance from the 825Y. The end connections of the 825YA have integral flanged union connections to allow the valve to be installed in different configurations. We call this an angle pattern valve, thus the “A” suffix on the model number. Other than the end connections, all the parts are the same as the 825Y.
Doug:
Another model you may run into is the 825YAR. This model is a variation of the 825YA. It has the same angle pattern end connections, but also has replaceable check seats. All other parts are identical to the 825YA.

Doug:
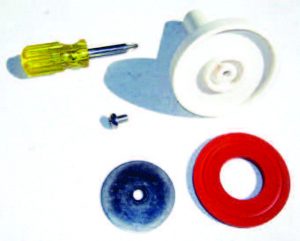
After you remove the old stem o-ring, you can proceed with cleaning up the stem. You will want to clean up any scale build on the stainless steel stem. Once the stem is clean you can replace the o-ring and apply some lubricant. This will protect the o-ring from damage when the stem is screwed back into the disc holder. Now you can reassemble the check in reverse order and replace the rubber disc.
